
Blog
Flat Bed Knitting Machine Setup & Commissioning Checklist
By Ramana Machines · September 16, 2026
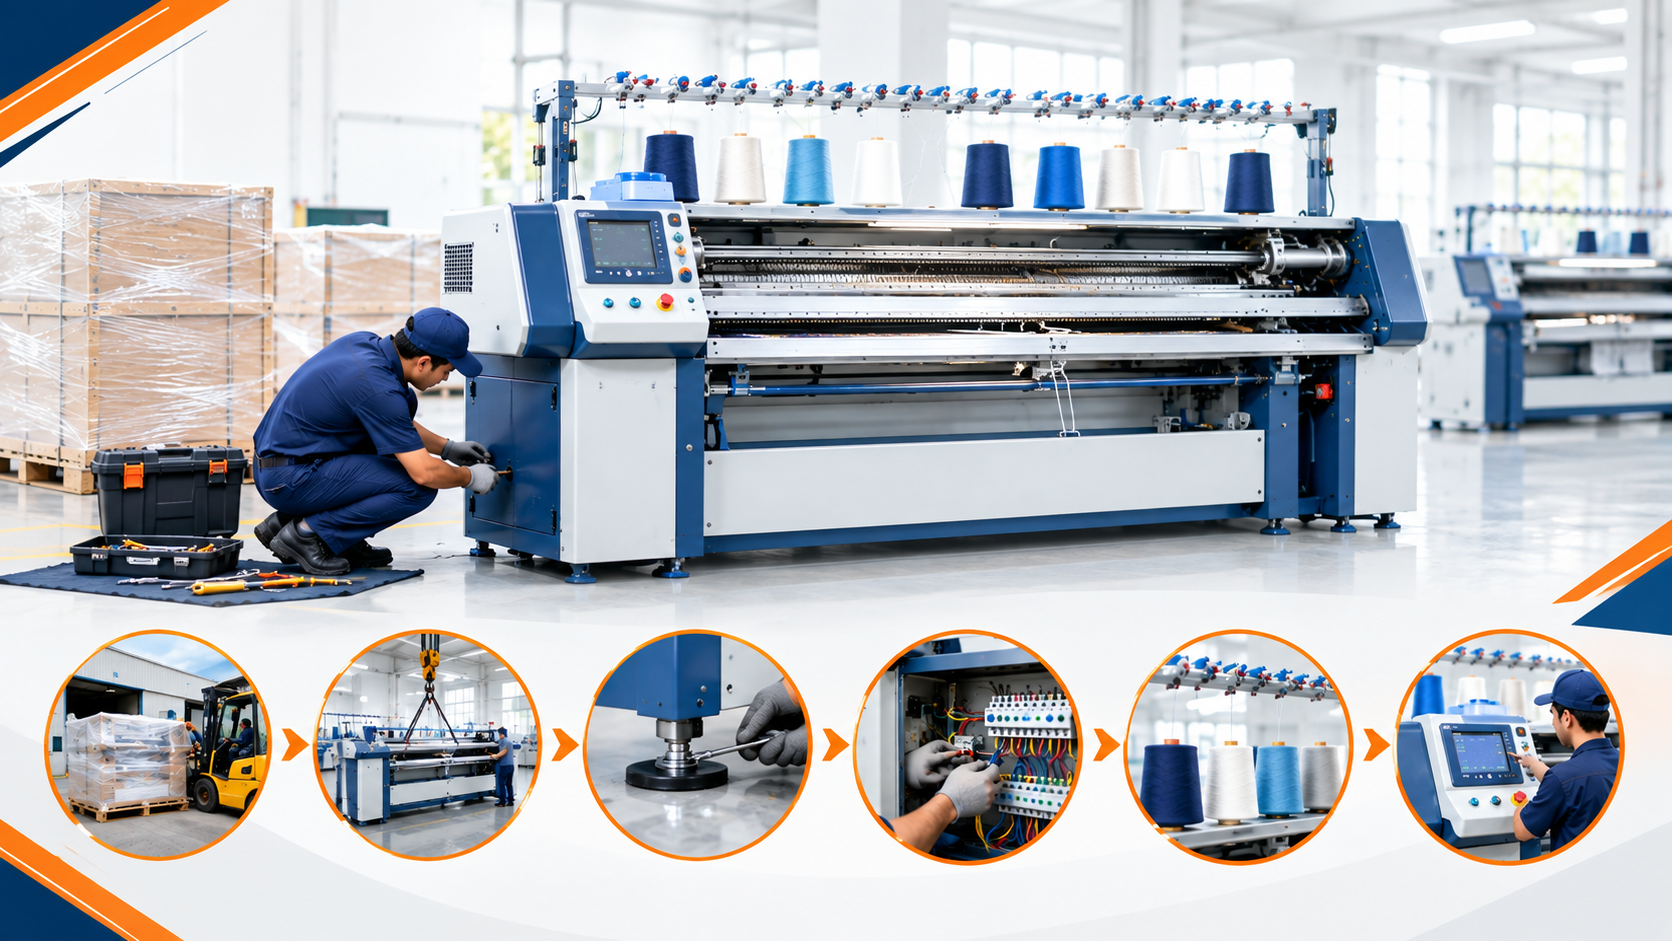
Follow this practical flat bed knitting machine setup and commissioning checklist covering pre-start inspection, machine testing, needles, yarn feeding, and stitch testing.
Installing a knitting machine is only the first step. Before regular production begins, the machine should be carefully checked, tested, and adjusted. This process is commonly known as commissioning.
A proper setup helps identify installation issues early and confirms that the machine, needles, yarn feeding system, and basic knitting functions are working correctly.
This checklist can help operators and production teams prepare a newly installed or relocated machine for regular operation.
1. Pre-Start Inspection
Before switching on the machine, carry out a visual and mechanical inspection. Check that the machine is clean, stable, and free from loose objects or materials that could interfere with operation.
Check the following:
- Machine positioning and stability
- Needle bed condition
- Carriage movement
- Yarn guides and feeders
- Electrical connections
- Control panel
- Lubrication points
- Safety guards and switches
- Loose screws, fittings, or components
Also check the machine manual for any model-specific requirements before starting the machine.
2. Machine Testing
After the initial inspection, switch on the machine and check its basic functions without immediately starting full production.
Observe the carriage movement and listen for unusual sounds. Check whether the control system responds correctly and whether the machine operates smoothly.
For a computerized flat bed knitting machine, also check the electronic control system, display, programmed functions, and other available operating controls.
If any unusual noise, vibration, warning message, or movement is noticed, stop the machine and investigate the issue before continuing.
3. Needle Inspection
Needles play an important role in forming knitted loops, so their condition should be checked before test knitting.
Inspect the needle bed for:
- Bent needles
- Damaged needle hooks
- Needles that do not move freely
- Dirt or foreign material
- Incorrectly positioned needles
- Signs of wear
Move the carriage carefully and make sure the needles respond properly. A damaged or incorrectly positioned needle can lead to dropped stitches, yarn breakage, holes, or uneven fabric.
If replacement needles or other components are required, keep suitable spare parts available before production starts. A reliable textile machinery spare parts supplier can help maintain access to commonly required replacement components.
4. Check Yarn Feeding
Before test knitting, confirm that the yarn feeding system is correctly prepared.
Check the complete yarn path from the yarn supply to the feeder. The yarn should pass smoothly through the guides without unnecessary resistance.
Pay attention to:
- Yarn quality and suitability
- Yarn feeder position
- Yarn path
- Yarn tension
- Yarn guides
- Feeding consistency
Incorrect yarn feeding or tension can cause yarn breakage and uneven stitches. Make the necessary adjustments according to the machine and yarn being used.
5. Perform Stitch Testing
After the machine and yarn system have been checked, carry out a small test knitting operation.
Do not begin with a large production order. A sample allows the operator to check the machine under actual knitting conditions and identify problems early.
During the test, check:
- Stitch formation
- Fabric appearance
- Yarn tension
- Needle movement
- Carriage movement
- Pattern or stitch settings
- Fabric take-down
- Yarn breakage
If the sample shows uneven stitches or other defects, review the machine settings and yarn setup before continuing.
Commissioning Checklist
Use this checklist before approving the machine for regular production:
Check | Completed |
| Machine visually inspected | ☐ |
| Machine stability checked | ☐ |
| Electrical system checked | ☐ |
| Carriage movement tested | ☐ |
| Needle bed inspected | ☐ |
| Needles checked | ☐ |
| Yarn path checked | ☐ |
| Yarn feeder inspected | ☐ |
| Yarn tension checked | ☐ |
| Control system tested | ☐ |
| Stitch sample produced | ☐ |
| Fabric quality checked | ☐ |
| Safety functions checked | ☐ |
| Operator trained | ☐ |
What to Do After Commissioning
Once the test sample meets the required quality, record the basic machine settings used for production. Keeping a setup record can help operators reproduce successful settings and make troubleshooting easier later.
The record can include the yarn type, machine gauge, stitch settings, yarn tension, production settings, and any adjustments made during testing.
Regular inspection should continue even after commissioning. Early checks can help identify changes in machine performance before they affect larger quantities of fabric.
Get Setup and Technical Support from Ramana Machines
Ramana Machines supports textile businesses with machinery sourcing, installation, setup assistance, operator training, spare parts, and after-sales technical support. If you are planning to install or commission a flat bed knitting machine, Ramana Machines can assist with selecting suitable equipment and supporting the machine setup according to your production requirements.
Related
More insights
September 16, 2026
How to Set Yarn Tension on a Flat Bed Knitting Machine
Learn how to set yarn tension on a flat bed knitting machine, identify tension problems, adjust yarn feeding, and maintain consistent stitch quality during production.
September 16, 2026
How to Operate a Flat Bed Knitting Machine: Beginner's Guide
Learn how to operate a flat bed knitting machine with this beginner's guide covering yarn preparation, threading, machine and stitch settings, production, and output monitoring.
September 16, 2026