Blog
How to Reduce Thread Breakage During Embroidery Production
By Ramana Machines · October 26, 2026
Frequent thread breaks can slow embroidery production, increase rework, and affect stitch quality. Learn how to identify common causes and improve performance through correct tension, suitable needles, better digitizing, proper fabric preparation, and regular machine maintenance.
Thread breakage is a common problem in embroidery production. Frequent thread breaks interrupt machine operation, reduce production speed, increase operator workload, and may affect the quality of finished embroidery.
For businesses using embroidery machines to produce garments, uniforms, caps, logos, and decorative designs, reducing thread breakage is important for maintaining consistent output and meeting delivery deadlines.
Thread breaks can happen because of incorrect tension, damaged needles, poor-quality thread, unsuitable design settings, or machine maintenance issues. By identifying the cause and following the correct operating practices, embroidery businesses can reduce interruptions and improve production efficiency.
1. Use Good-Quality Embroidery Thread
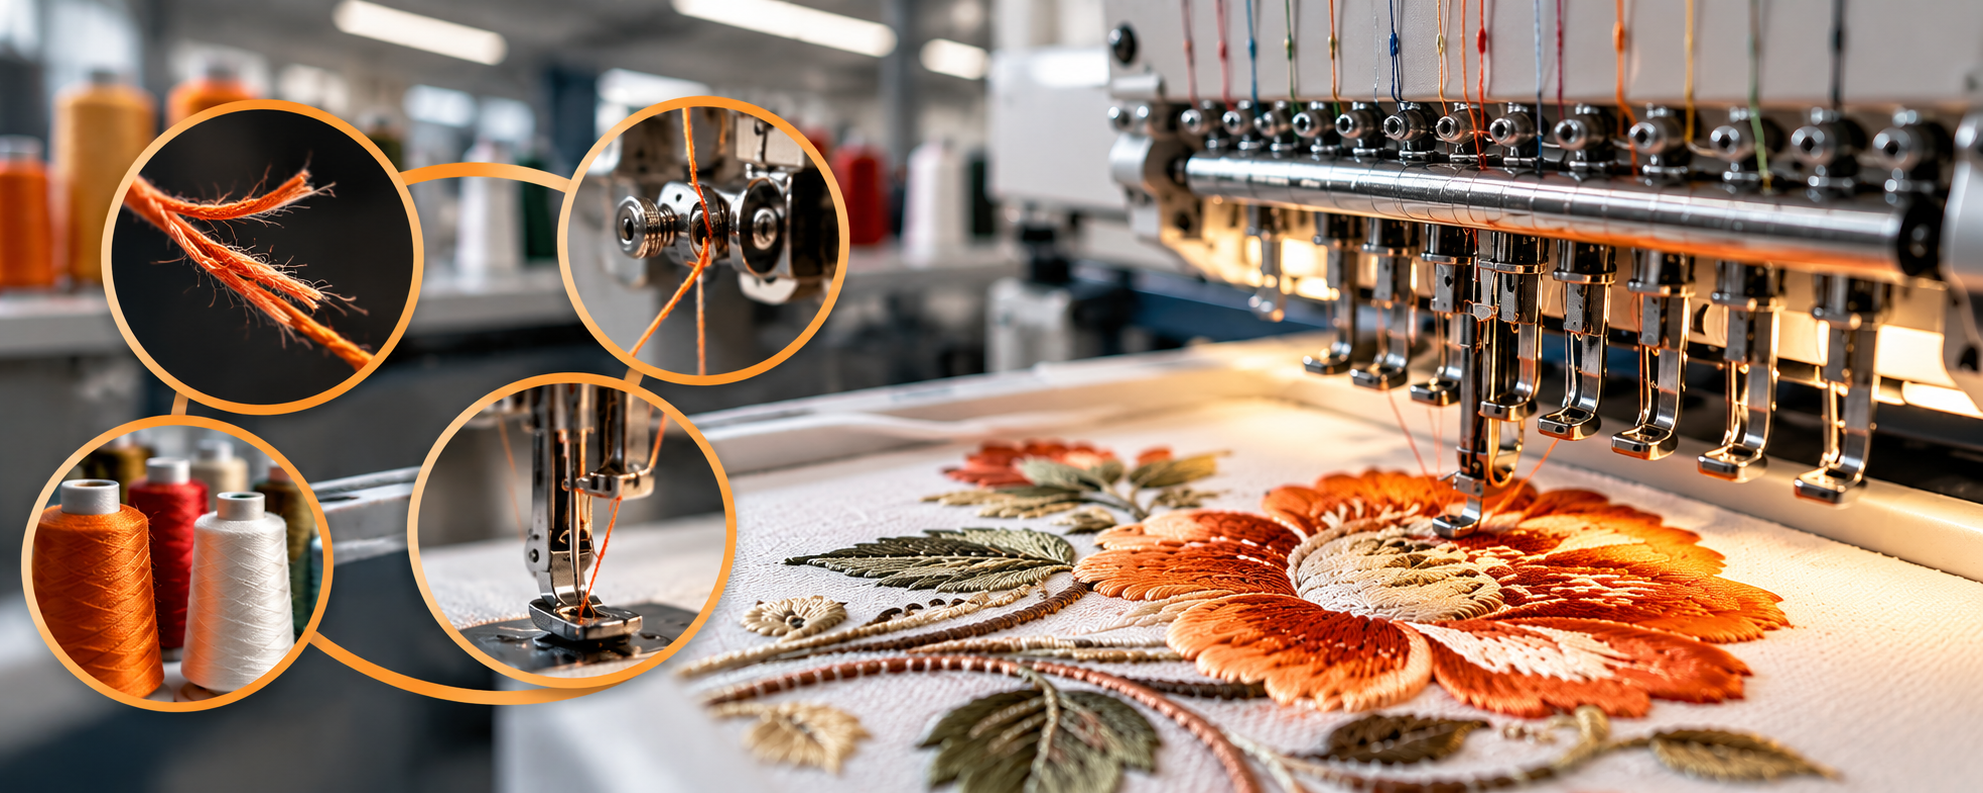
Thread quality has a direct impact on embroidery performance. Weak, uneven, or damaged thread may break frequently, particularly when the machine runs at high speed or stitches complex designs.
Common thread-related problems include:
- Uneven thread thickness.
- Weak or damaged fibres.
- Excessive lint production.
- Thread that is unsuitable for the needle or fabric.
- Improper storage that exposes thread to dust, moisture, or heat.
How to prevent thread breakage:
Choose embroidery thread suitable for the design, fabric, and machine. Check thread cones before loading them and avoid using damaged or contaminated thread. Store thread in a clean, dry environment and follow the thread manufacturer's recommendations.
If thread breaks repeatedly with one particular cone, replace it with a fresh cone to determine whether the thread itself is causing the problem.
2. Set the Correct Thread Tension
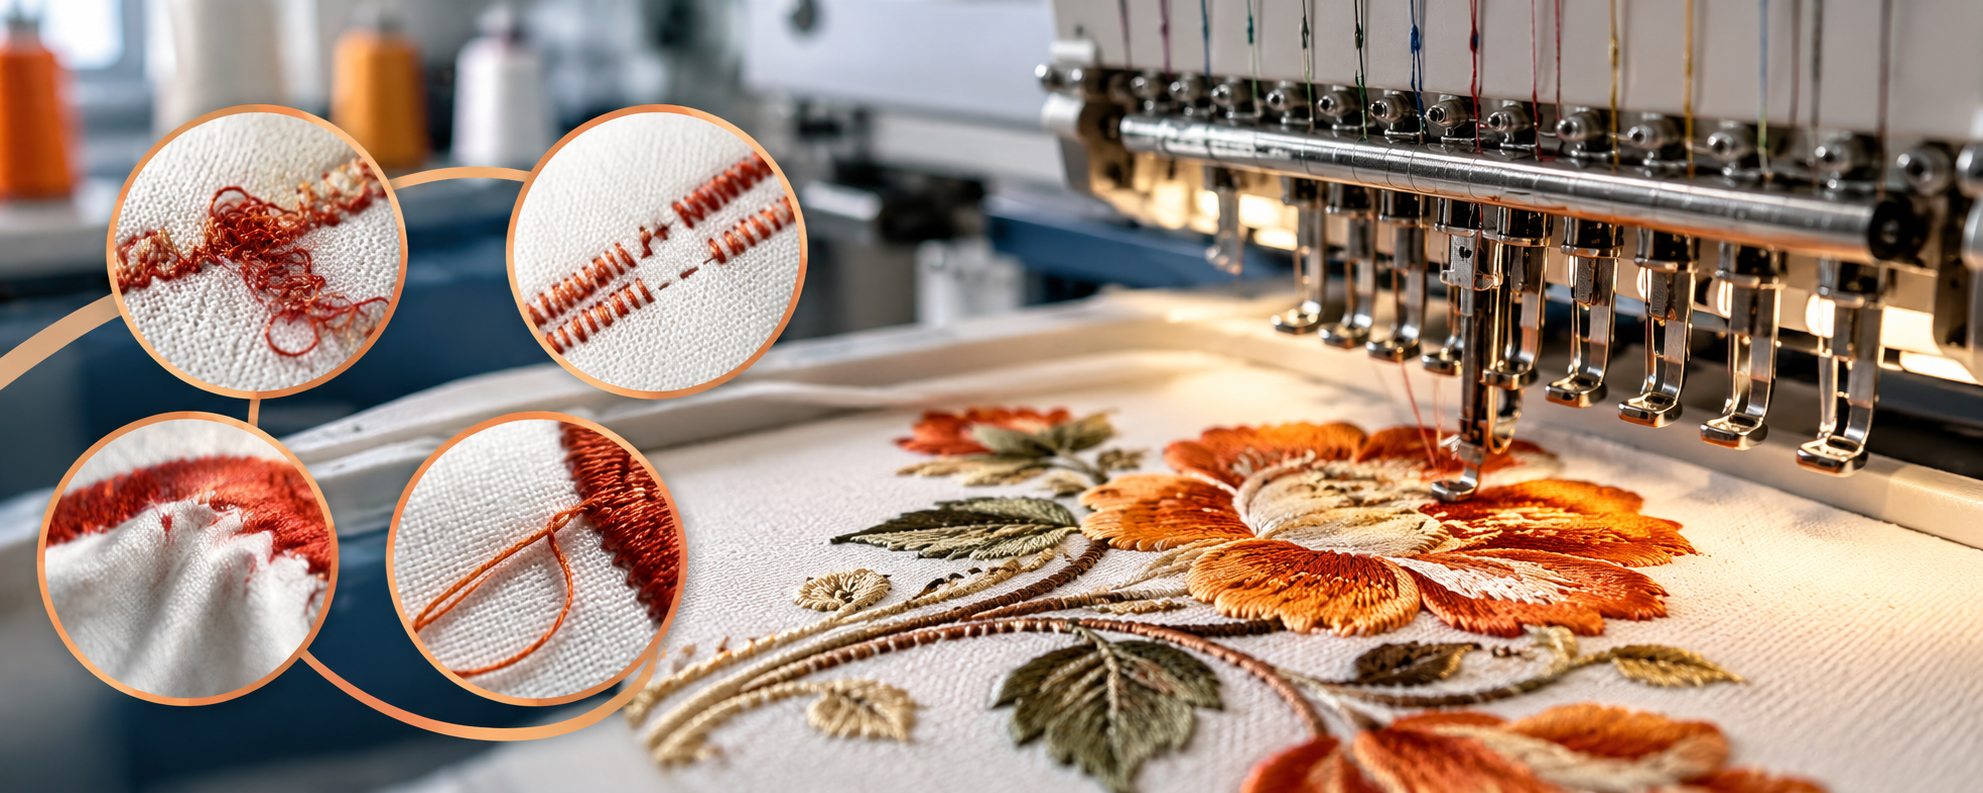
Incorrect tension is one of the most common causes of thread breakage. Excessive tension can place unnecessary stress on the thread, while insufficient or unbalanced tension can produce loose stitches and loops.
Both upper-thread tension and bobbin tension influence stitch formation.
How to fix tension problems:
- Check that the thread is correctly positioned in the tension discs.
- Follow the machine manufacturer's recommended tension settings.
- Inspect the bobbin installation and thread path.
- Make small adjustments rather than changing several settings at once.
- Test the embroidery on a sample before restarting full production.
The goal is to achieve balanced stitches without placing unnecessary stress on the thread. Avoid increasing tension simply to solve a problem without first checking threading, needle condition, and the design.
3. Replace Damaged or Incorrect Needles
A bent, blunt, damaged, or incorrectly installed needle can damage thread and lead to frequent breaks. The wrong needle size or type may also cause problems when working with different fabrics and thread thicknesses.
How to prevent needle-related problems:
- Inspect needles regularly.
- Replace damaged or worn needles promptly.
- Use a needle type and size suitable for the fabric and thread.
- Install needles in the correct orientation.
- Check for burrs or damage around the needle plate and other thread-contact points.
If thread breaks repeatedly on the same embroidery head or needle position, inspect that position carefully before changing the entire machine's settings.
4. Check the Embroidery Design for Excessive Stitch Density
Some thread breaks originate in the embroidery design rather than the machine. Dense stitching, unnecessary overlaps, sharp turns, and very short stitches can increase thread stress.
Large filled areas and detailed lettering may be particularly challenging if the design has not been digitized correctly.
How to reduce design-related thread breaks:
- Review stitch density for the fabric and thread being used.
- Remove unnecessary overlapping stitches.
- Check very short stitches and tight corners.
- Use suitable underlay settings.
- Review stitch direction and travel paths.
- Test complicated designs before bulk production.
A well-digitized design should provide suitable coverage without adding unnecessary stitches. Reducing stitch density blindly, however, may create gaps or weaken the finished appearance.
5. Check the Thread Path for Obstructions
Thread must travel smoothly from the cone through the machine's thread guides, tension system, take-up mechanism, and needle. If the thread catches or encounters excess friction, it may break during stitching.
Common causes include:
- Incorrect threading.
- Thread caught around a guide or cone holder.
- Lint or debris around thread-contact areas.
- Damaged guides or rough surfaces.
- Thread feeding inconsistently from the cone.
How to fix it:
Re-thread the machine according to the manufacturer's instructions. Check that the thread cone unwinds freely and that the thread passes through each guide correctly. Clean the designated areas and inspect guides for damage.
Always stop the machine before inspecting components near moving parts.
6. Adjust Machine Speed to Suit the Design
Running an embroidery machine at excessive speed can increase thread stress, particularly when stitching dense designs, small lettering, or frequent direction changes.
The appropriate speed depends on the design complexity, fabric, thread, needle, and machine specifications.
How to manage speed:
- Follow the manufacturer's recommended operating limits.
- Reduce speed for dense designs and detailed lettering when necessary.
- Test new designs before running a full production batch.
- Monitor whether thread breaks occur at specific speed levels.
- Increase speed gradually after confirming stable stitch quality.
Maximum rated speed does not always mean the best production speed. Consistent output with fewer interruptions can be more valuable than running faster and repeatedly stopping to re-thread.
7. Maintain the Bobbin and Hook Area
Lint, tangled thread, an incorrectly fitted bobbin, or damage around the hook area can interfere with stitch formation and contribute to thread breaks.
What to check:
- Correct bobbin installation.
- Suitable bobbin-thread quality.
- Lint buildup around the bobbin case and hook.
- Bobbin case condition.
- Signs of damage or rough surfaces.
- Hook timing, if other basic checks do not resolve the issue.
Clean the machine according to its maintenance instructions. Do not apply oil indiscriminately; lubricate only the specified components using the recommended method.
If thread breakage continues after cleaning and correct installation, a qualified technician may need to inspect the hook assembly and timing.
8. Use the Correct Stabilizer and Hoop the Fabric Properly
Incorrect stabilizer selection or poor hooping can cause fabric movement and uneven stitch formation. The resulting distortion can place extra stress on thread, especially in dense or complex designs.
How to prevent these issues:
- Select a stabilizer suitable for the fabric and design.
- Hoop the material evenly without stretching it excessively.
- Ensure the fabric remains secure during embroidery.
- Use suitable backing for lightweight or stretch fabrics.
- Test the design on the actual material before production.
Correct fabric preparation improves design stability and can reduce problems that appear to be machine-related.
9. Inspect Machine Maintenance and Wear
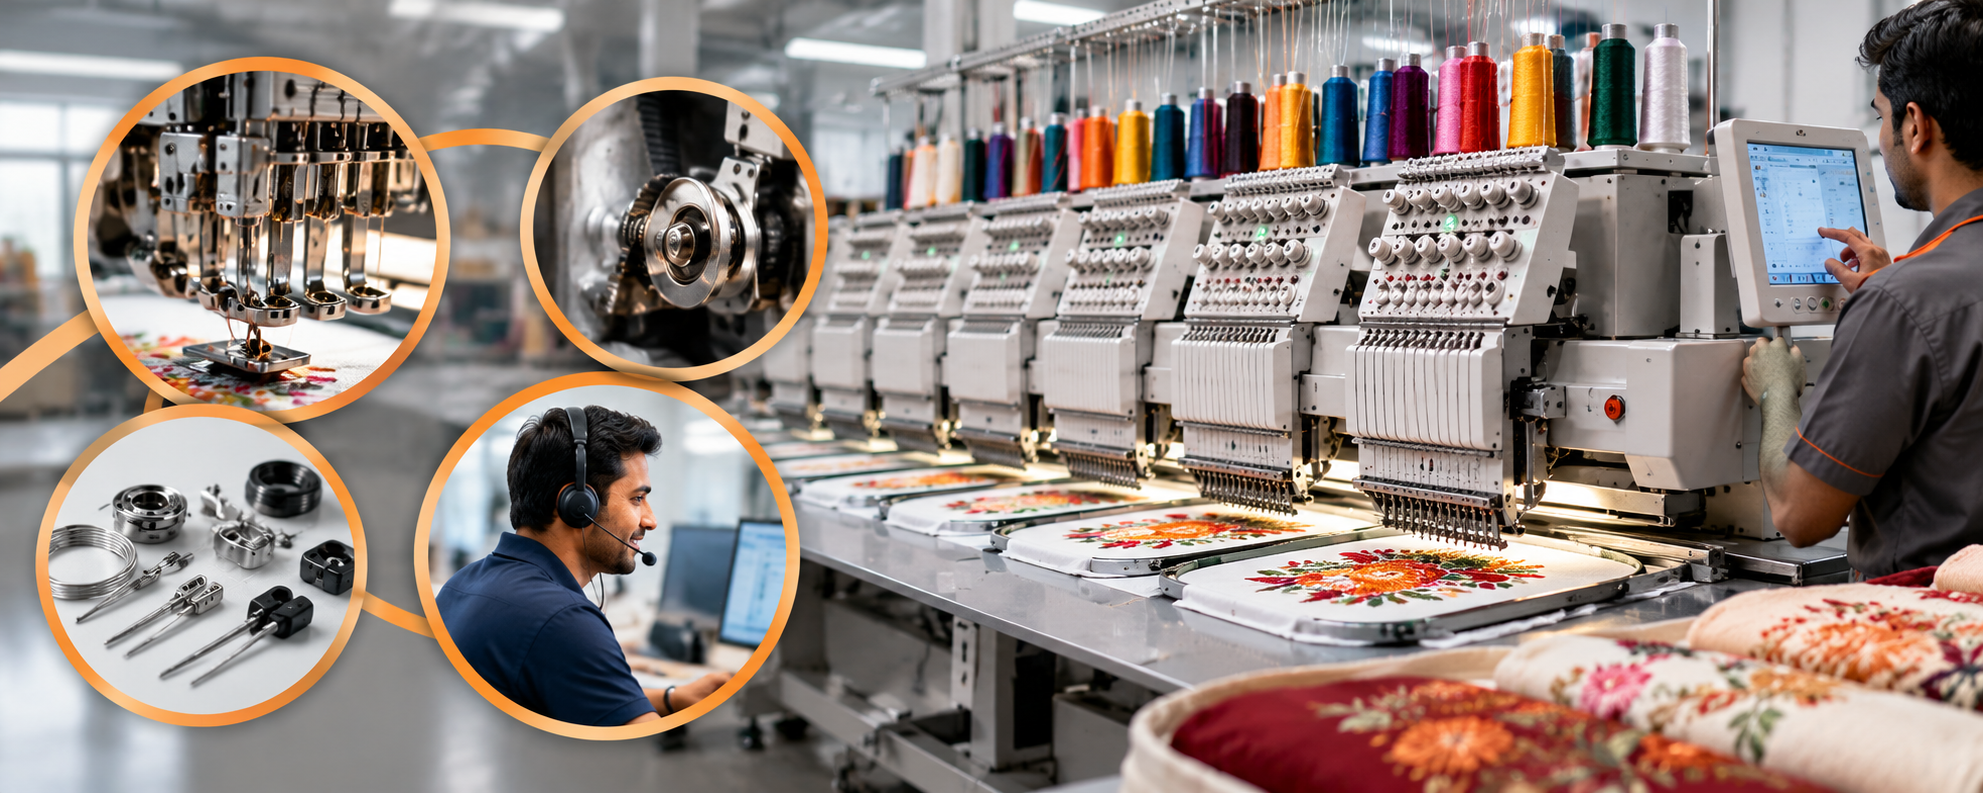
Embroidery machines contain multiple moving and thread-contact components. Worn parts, poor lubrication, lint buildup, and neglected maintenance can affect thread handling and stitch formation.
A preventive maintenance routine should include:
- Cleaning the machine and designated lint-prone areas.
- Checking needles, thread guides, and tension components.
- Inspecting bobbin and hook areas.
- Checking thread cutters and other relevant mechanisms.
- Following the manufacturer's lubrication schedule.
- Recording repeated faults and repairs.
Do not ignore thread breaks that repeatedly occur on the same head or needle position. A recurring pattern may indicate a local mechanical problem that needs inspection.
10. Monitor Each Head on a Multi-Head Embroidery Machine
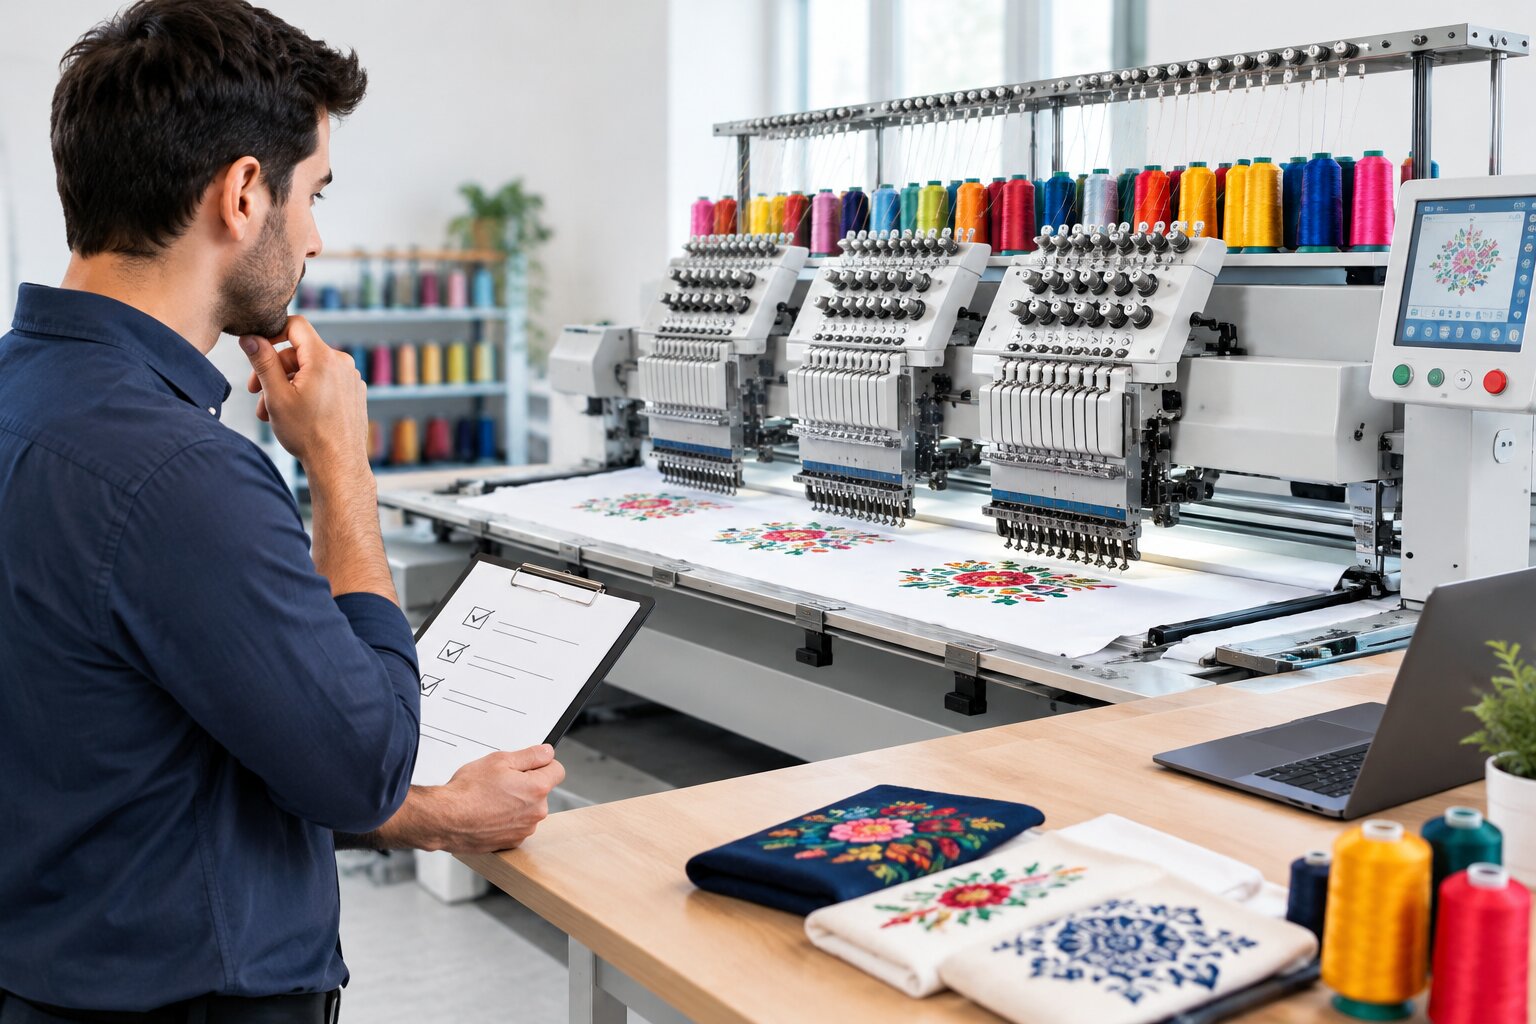
In multi-head embroidery production, several embroidery heads work on the same design at the same time. If one head experiences repeated thread breaks, overall production efficiency can suffer.
How to reduce problems across multiple heads:
- Check thread quality and threading on every head.
- Inspect needles and tension settings individually.
- Confirm that fabric is hooped consistently.
- Monitor which head and needle position experience the most breaks.
- Record faults to identify recurring patterns.
- Arrange technical inspection when a problem persists on one head.
Avoid assuming that all heads have identical conditions simply because they are running the same design. Small differences in threading, component wear, or setup can affect performance.
Quick Guide: Causes of Thread Breakage and Solutions
Problem | Possible cause | Recommended action |
| Frequent breaks with one cone | Damaged or inconsistent thread | Replace the cone and test again |
| Breaks at one needle position | Needle, guide, or local component issue | Inspect that position |
| Breaks in dense areas | Excessive density or overlapping stitches | Review the digitized design |
| Loose loops and poor stitches | Incorrect or unbalanced tension | Check threading and adjust gradually |
| Breaks at high speed | Speed unsuitable for the design | Reduce speed and test |
| Breaks after prolonged production | Lint buildup or worn parts | Clean and inspect the machine |
| Fabric distortion | Poor hooping or stabilizer choice | Improve fabric preparation |
| Repeated breaks near the hook | Bobbin, hook, or timing issue | Inspect safely or contact a technician |
A Simple Routine to Reduce Thread Breakage
A consistent routine helps operators identify problems before they cause extended downtime.
Before production:
- Check thread cones and needle condition.
- Confirm correct threading and bobbin installation.
- Review the design for excessive density and overlaps.
- Prepare and hoop the fabric correctly.
- Run a short sample and inspect stitch quality.
During production:
- Monitor thread breaks by head and needle position.
- Watch for changes in stitch quality.
- Stop and investigate repeated breaks rather than repeatedly restarting.
- Record adjustments that solve the problem.
After production:
- Clean the machine according to the maintenance schedule.
- Inspect components that showed repeated faults.
- Record recurring problems and replacement parts.
- Save successful settings for repeat designs.
When Should You Consider a Different Embroidery Machine?
If thread breakage continues despite correct threading, suitable tension, good-quality thread, and proper maintenance, the machine's condition or suitability for your production requirements may need to be reviewed.
When comparing machines, consider the type of embroidery you produce, design complexity, fabric range, production volume, operating speed, control system, maintenance needs, and technical support.
If you are researching the best multi head embroidery machine in India, compare the specifications and support offered by different suppliers rather than selecting equipment based only on the number of heads or maximum speed. The right machine should suit your production requirements and provide access to suitable spare parts and technical assistance.
Improve Embroidery Production with Better Machine Setup
Reducing thread breakage starts with identifying the real cause. Correct threading, balanced tension, suitable needles, well-digitized designs, proper fabric preparation, and regular maintenance can help improve stitch quality and reduce production interruptions.
Ramana Machines supports textile and garment businesses in exploring embroidery machinery and related technical requirements. Contact the team to discuss suitable machine options, production needs, spare parts, and technical support for your embroidery operations.