
Blog
Why Is Your Embroidery Machine Consuming Too Much Thread?
By Ramana Machines · November 11, 2026
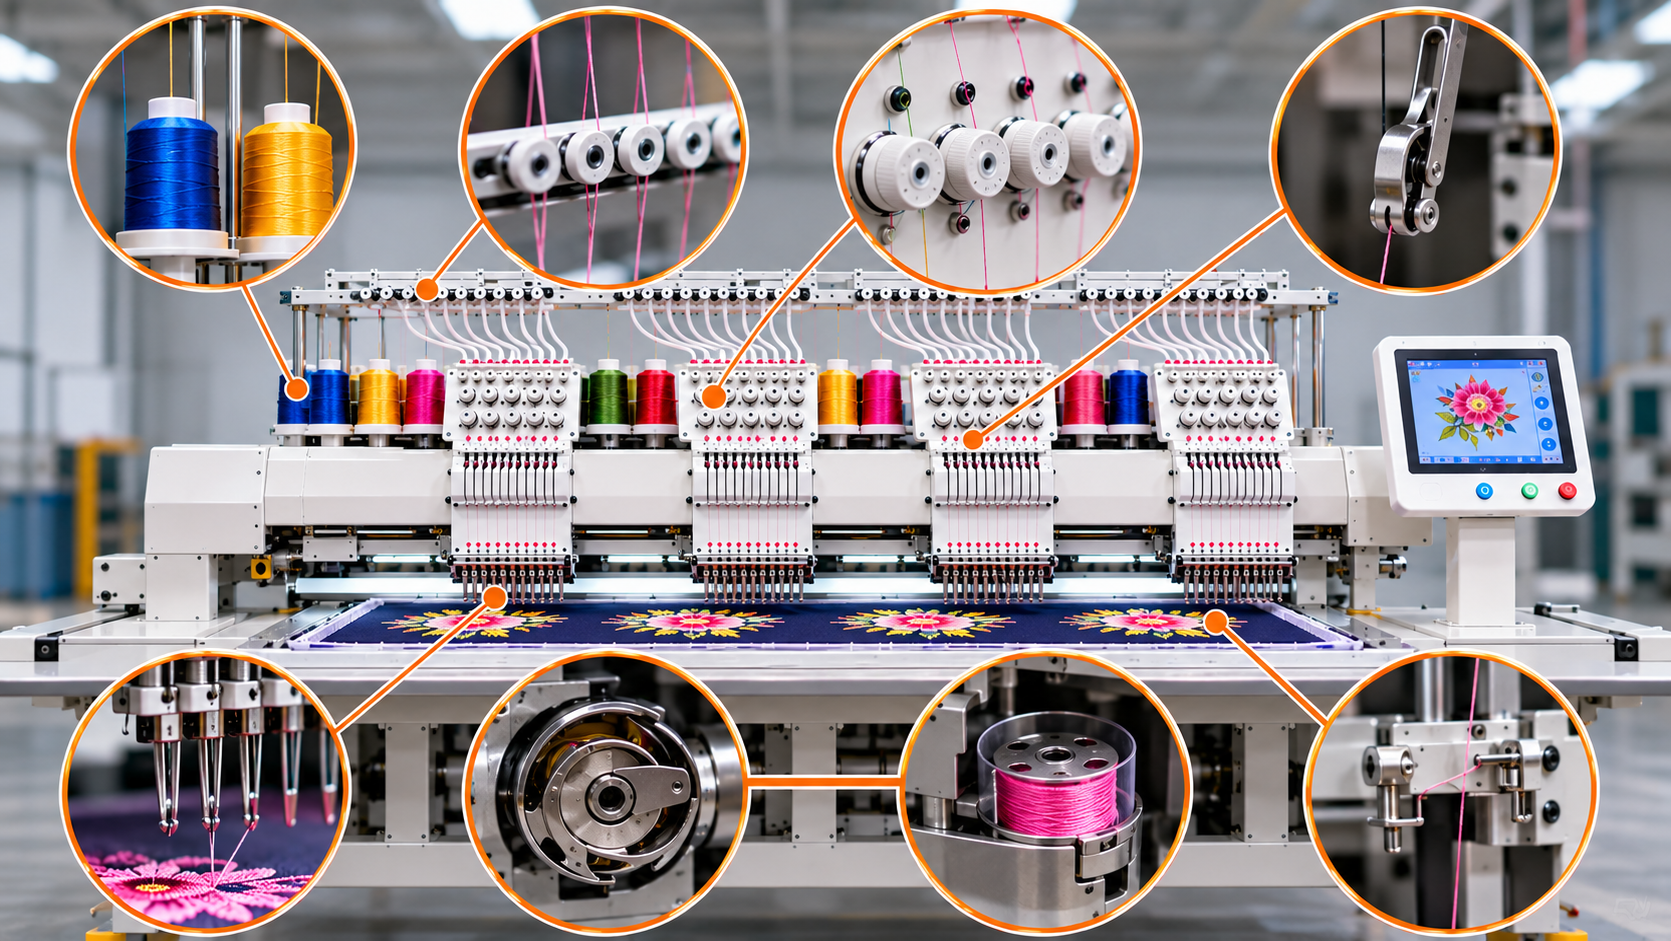
Is your embroidery machine using more thread than expected? Explore common reasons such as excessive stitch density, incorrect tension, long thread tails, and design settings, along with practical ways to reduce thread wastage.
Thread consumption is an important factor in embroidery production. If an embroidery machine uses more thread than expected, it can increase production costs, create unnecessary material wastage, and reduce overall efficiency.
Sometimes, higher thread consumption is related to the embroidery design itself. In other cases, incorrect thread tension, excessive stitch density, improper trimming settings, or mechanical problems may be responsible.
Understanding how the machine uses thread and identifying the reasons behind excessive consumption can help operators control wastage without affecting embroidery quality.
Important Embroidery Machine Parts That Affect Thread Consumption
Several components control how thread moves through the machine and forms stitches. Problems with these parts can result in unnecessary thread usage.
1. Thread Tension Assembly
The tension assembly controls the resistance applied to the upper thread as it moves towards the needle.
How it affects thread consumption: Incorrect tension can allow more thread to pass through the needle than required. It can also create loose stitches, loops, and uneven embroidery.
2. Thread Guides
Thread guides direct the thread through the correct path before it reaches the needle.
How they affect thread consumption: Incorrect threading, damaged guides, or rough surfaces can create inconsistent thread movement and tension problems.
3. Take-Up Lever
The take-up lever controls the movement of the upper thread during the stitching cycle. It helps pull the thread into the stitch and maintain proper stitch formation.
How it affects thread consumption: Incorrect adjustment or movement problems can lead to loose stitches and inconsistent thread usage.
4. Needle and Needle Bar
The needle carries the upper thread through the fabric to form each stitch. The needle bar controls its up-and-down movement.
How they affect thread consumption: A damaged, bent, or incorrectly installed needle can cause skipped stitches, thread loops, and poor stitch formation.
5. Hook and Bobbin Assembly
The hook catches the upper thread loop and connects it with the bobbin thread to form a stitch.
How it affects thread consumption: Incorrect hook timing, bobbin tension, or thread positioning can cause loose stitches and repeated stitching problems.
6. Thread Trimmer
The thread trimmer cuts the upper and bobbin threads when the machine changes colour or completes a stitching section.
How it affects thread consumption: Incorrect trimming settings can leave unnecessarily long thread tails. Frequent trimming can also increase thread waste.
7. Embroidery Frame and Pantograph System
The frame holds the fabric while the pantograph moves it according to the embroidery design.
How they affect thread consumption: Incorrect fabric positioning or movement can affect stitch placement and lead to repeated stitching or design corrections.
8. Control Panel and Design Software
The control panel manages machine settings, while the design software determines stitch placement, density, underlay, and other embroidery parameters.
How they affect thread consumption: Incorrect design settings, unnecessary overlapping stitches, or excessive stitch density can increase the amount of thread required for a design.
Common Reasons Why Your Embroidery Machine Is Consuming Too Much Thread
1. Excessive Stitch Density in the Design
Stitch density refers to how closely the stitches are placed within an embroidery area. When the density is too high, the machine uses more thread to cover the same area.
This problem is common in designs with heavy fills, large lettering, and closely packed patterns.
Solution:
- Review the stitch density before production.
- Avoid unnecessary overlapping stitches.
- Adjust fill settings according to the fabric.
- Check whether the design contains repeated stitch areas.
- Test the revised design before starting bulk production.
Reducing stitch density should be done carefully. Too few stitches can leave gaps and affect the final appearance.
2. Incorrect Upper Thread Tension
When upper thread tension is too loose, the machine may use more thread than necessary to form consistent stitches. Incorrect tension can also create loops on the fabric surface or an uneven stitch appearance.
Solution:
- Check the upper-thread tension according to the machine's recommendations.
- Ensure the thread passes correctly through all guides.
- Clean the tension discs if lint or thread residue has accumulated.
- Test the tension on a sample fabric.
- Make small adjustments instead of changing the tension drastically.
3. Incorrect Bobbin Thread Tension
Bobbin tension also plays an important role in stitch formation. If it is not balanced with the upper-thread tension, the machine may produce loose or uneven stitches.
Solution:
- Check the bobbin thread installation.
- Inspect the bobbin case for lint and thread residue.
- Verify bobbin tension using the recommended method.
- Replace damaged bobbins or bobbin cases.
- Check the relationship between upper and lower thread tension.
4. Long Thread Tails After Trimming
Every time the machine changes colour or moves between stitching sections, the thread trimmer may cut the thread. If the trimming settings are incorrect, long thread tails may remain.
These leftover threads can increase material waste, especially in designs with frequent colour changes.
Solution:
- Review the thread trimming settings.
- Check the trimming mechanism and blade condition.
- Verify that the thread is being cut at the correct position.
- Adjust trimming parameters according to the machine instructions.
- Avoid unnecessary colour changes in the design.
5. Poor Quality or Unsuitable Embroidery Thread
Thread quality can affect both stitching performance and overall consumption. Threads with inconsistent thickness, poor winding, or unsuitable material properties may cause frequent breaks and production interruptions.
When thread breaks repeatedly, operators may need to remove damaged thread sections and restart the stitching process.
Solution:
- Select thread suitable for the fabric and embroidery application.
- Check thread thickness and quality.
- Store thread away from moisture, dust, and direct sunlight.
- Avoid using damaged or improperly wound thread.
- Maintain consistent thread quality across production batches.
6. Incorrect Needle Size or Damaged Needle
A needle that is not suitable for the thread or fabric can affect stitch formation. A damaged needle may create friction, damage the thread, or cause skipped stitches.
Repeated stitching problems can result in additional thread waste.
Solution:
- Use the recommended needle size for the thread and fabric.
- Replace bent, blunt, or damaged needles.
- Check that the needle is installed correctly.
- Inspect the needle area for fabric or thread residue.
- Select an appropriate needle type for the material.
7. Incorrect Underlay Settings
Underlay stitches provide a foundation for the main embroidery design. They help stabilise the fabric and improve the appearance of the final embroidery.
However, excessive underlay or unnecessary overlapping can increase thread consumption without providing any meaningful improvement.
Solution:
- Review underlay settings in the embroidery design.
- Select suitable underlay types for the fabric.
- Avoid unnecessary additional foundation stitches.
- Adjust underlay according to the size and shape of the design.
- Test the design before making large-scale production changes.
8. Frequent Thread Breakage and Re-Stitching
Thread breakage does not always increase the thread required by the original design, but repeated rethreading, discarded thread sections, and restarting stitches can increase actual thread consumption.
Possible reasons include incorrect tension, damaged needles, rough thread guides, and hook timing problems.
Solution:
- Check the entire thread path.
- Inspect needles and thread guides.
- Maintain correct upper and bobbin thread tension.
- Check hook timing if thread breakage continues.
- Record which needle or colour position experiences repeated breaks.
9. Incorrect Design Scaling
When an embroidery design is enlarged or reduced without properly adjusting its stitch settings, the stitch distribution may become unsuitable for the new size.
This can create excessive stitching in some areas and poor coverage in others.
Solution:
- Use embroidery software to review the resized design.
- Check stitch density after scaling.
- Adjust underlay and stitch settings where necessary.
- Avoid repeated resizing without checking the stitch structure.
- Run a sample before production.
How to Identify Where Your Machine Is Wasting Thread
If thread consumption is consistently higher than expected, follow a simple checking process instead of changing multiple machine settings at once.
Step 1: Check the embroidery design
Compare stitch count, density, underlay, and colour changes with the original design.
Step 2: Inspect thread tension
Check upper and bobbin thread tension and observe the stitch formation on a sample.
Step 3: Examine the trimming system
Look for long thread tails, incomplete cuts, and unnecessary trimming.
Step 4: Check needles and thread guides
Inspect needles, guides, and the thread path for damage or friction.
Step 5: Compare thread usage across designs
Record the amount of thread used for different designs. This helps determine whether the problem is related to one particular design or the machine's overall operation.
Practical Ways to Reduce Thread Consumption During Embroidery Production
Controlling thread consumption requires a combination of correct design preparation, machine settings, and regular maintenance.
- Optimise stitch density: Use suitable density instead of adding unnecessary stitches.
- Review colour changes: Reduce avoidable colour changes and trimming operations.
- Maintain correct tension: Balance upper and bobbin thread tension.
- Use suitable thread: Select thread according to the fabric and design requirements.
- Check trimming settings: Avoid unnecessarily long thread tails.
- Maintain needles and hook assembly: Replace worn components and clean the stitching area.
- Test designs before bulk production: Identify excessive thread usage before starting large orders.
Maintain production records: Compare estimated and actual thread consumption to identify unusual changes.
How Regular Maintenance Helps Control Thread Wastage
Regular maintenance supports consistent stitch formation and helps prevent problems that lead to unnecessary thread usage.
Daily checks:
- Clean lint from the hook and bobbin area.
- Inspect needles and thread paths.
- Check upper and bobbin thread tension.
- Observe the machine for loose stitches and thread breaks.
- Remove leftover thread from the trimming area.
Weekly checks:
- Inspect thread guides and tension components.
- Check the thread trimmer and blade condition.
- Examine the bobbin case for wear.
- Review the machine's stitching performance.
- Check frame movement and fabric positioning.
Periodic checks:
- Inspect hook timing and needle alignment.
- Check the condition of moving components.
- Review machine parameters and design settings.
- Replace worn parts according to the manufacturer's recommendations.
- Arrange technical inspection if thread wastage continues despite routine maintenance.
Selecting the Right Machine and Settings for Efficient Embroidery Production
Thread consumption depends on more than the machine itself. Design quality, fabric type, thread selection, stitch density, trimming settings, and operator handling all influence how much thread is used during production.
A well-maintained computerized embroidery machine with properly prepared designs and suitable operating settings can help maintain consistent stitching and reduce avoidable material wastage.
Ramana Machines is a supplier, distributor, and trader of knitting and textile machinery. We help businesses explore machinery options according to their production requirements and operational needs.
Visit www.ramanainternational.com or contact our team to discuss your textile machinery requirements.
Related
More insights
11 Nov 2026
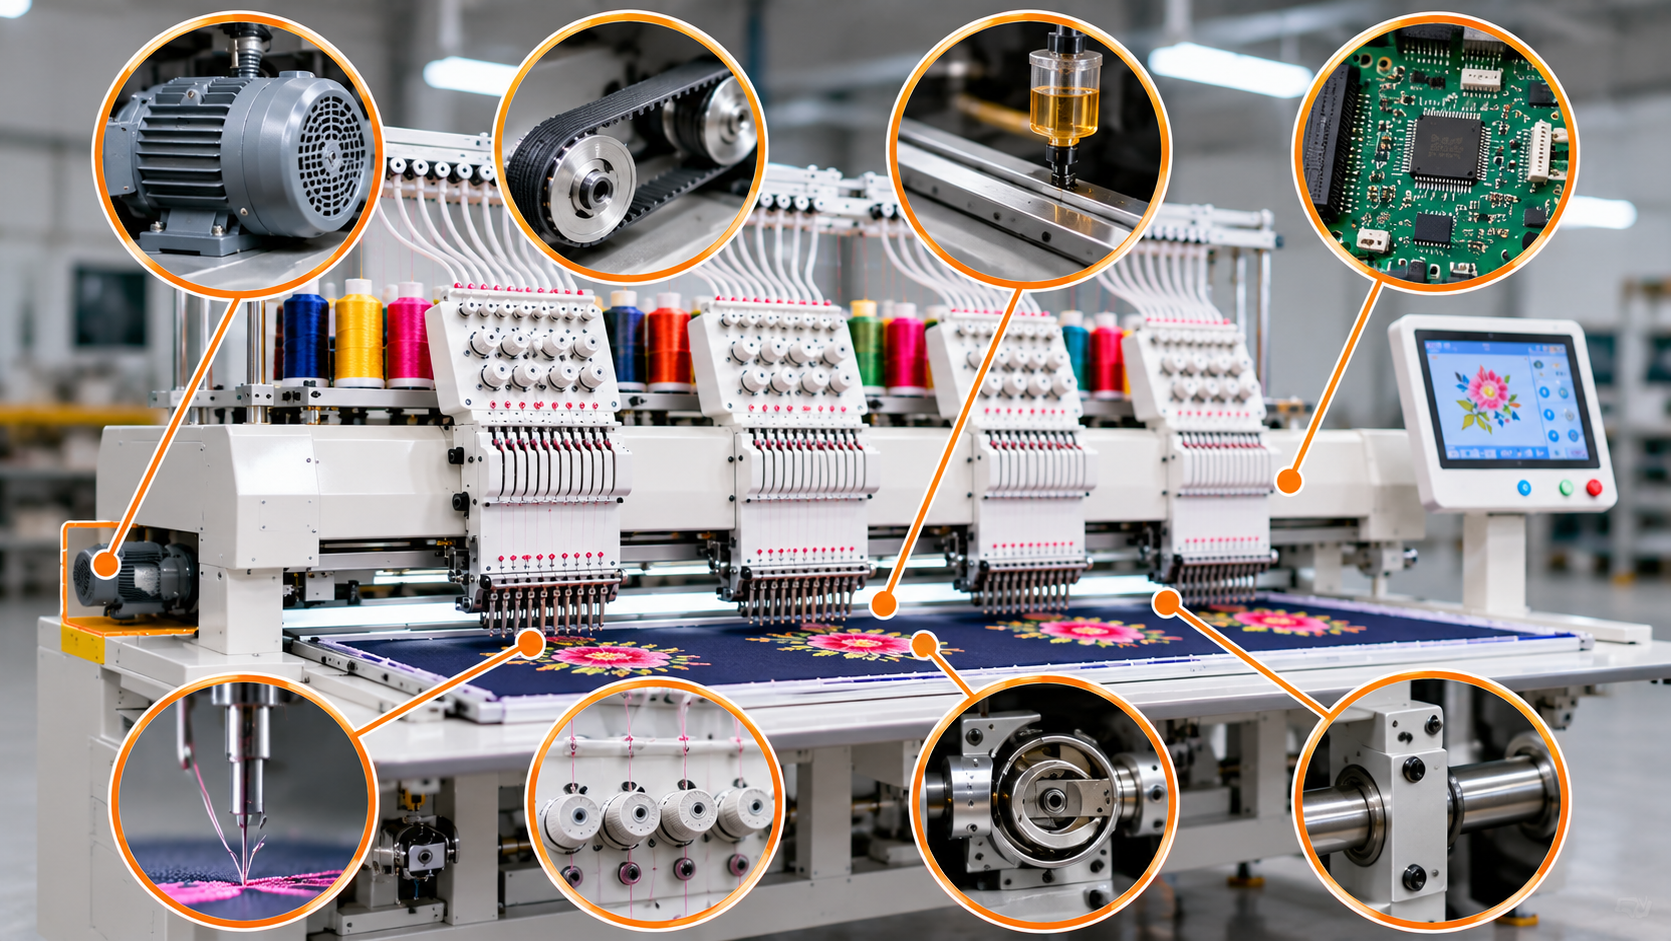
Why Is Your Embroidery Machine Running Slowly? Causes and Solutions
View11 Nov 2026
Why Is Your Embroidery Machine Running Slowly? Causes and Solutions
Is your embroidery machine running slower than usual? Learn about common causes such as motor issues, incorrect speed settings, poor lubrication, thread breakage, and electrical faults, along with practical solutions to maintain consistent production.
View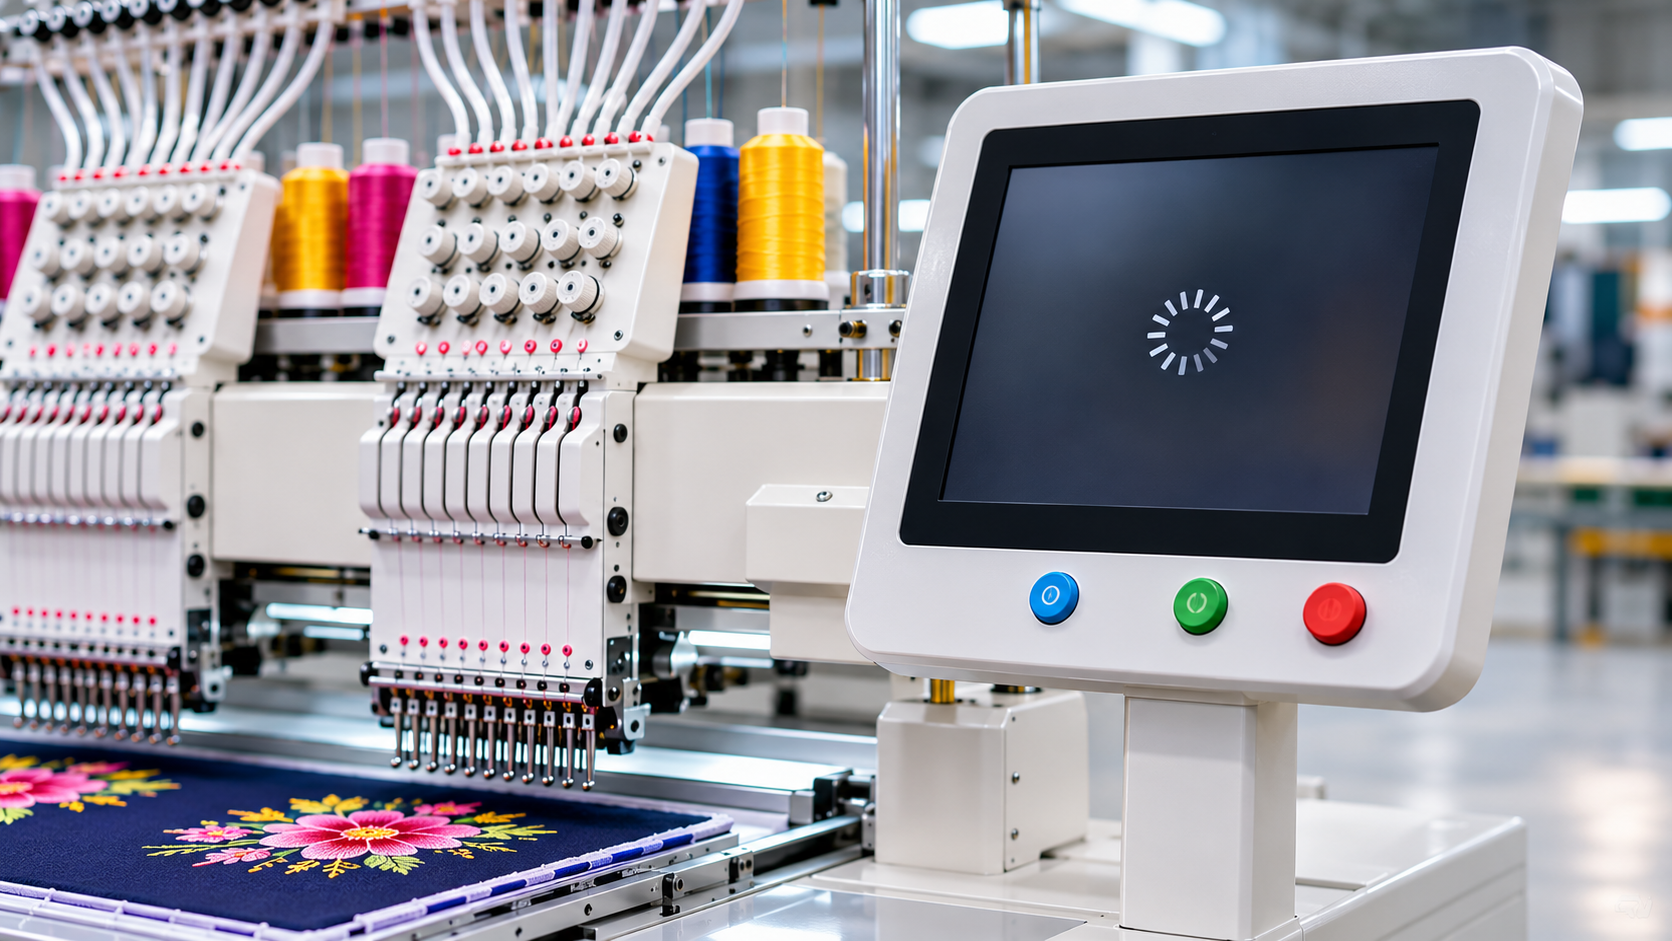
11 Nov 2026
Why Is the Machine Not Responding to Control Panel Commands?
View11 Nov 2026
Why Is the Machine Not Responding to Control Panel Commands?
When an embroidery machine does not respond to control panel commands, production can come to a standstill. Learn how the touchscreen, control board, communication cables, power supply, safety switches, and motor driver work, along with common faults and practical troubleshooting solutions.
View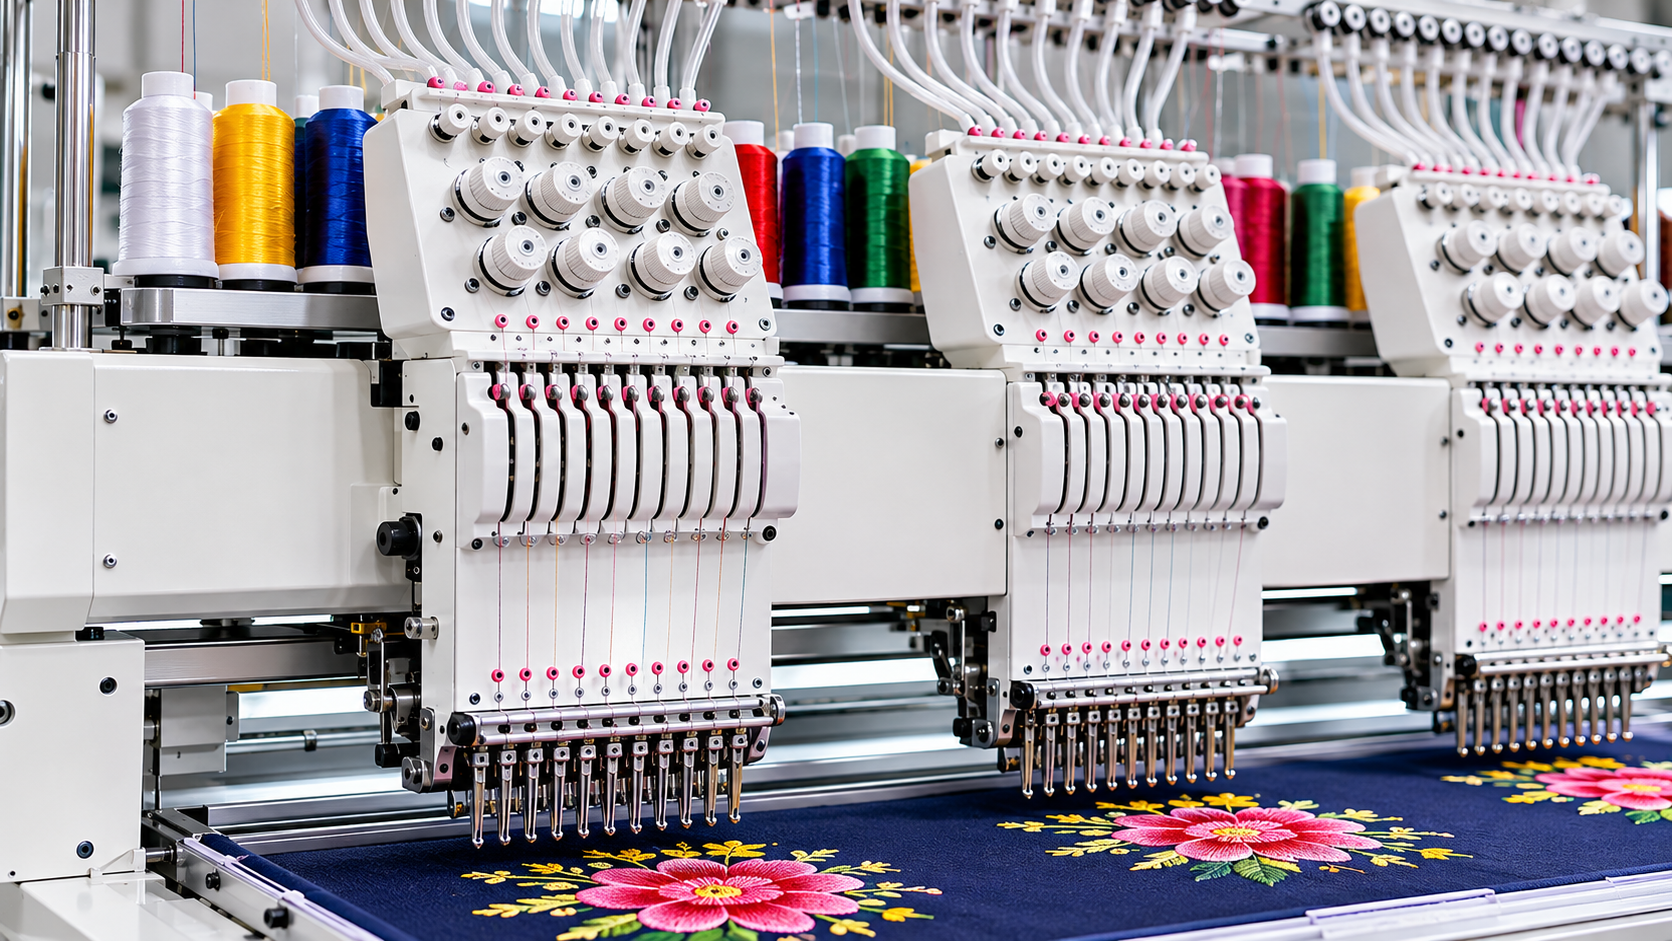
11 Nov 2026
How to Prevent Motor Overheating in Automatic Embroidery Machines
View11 Nov 2026
How to Prevent Motor Overheating in Automatic Embroidery Machines
Motor overheating can lead to unexpected stoppages, reduced machine performance, and costly repairs. Learn about the important motor and cooling-system parts in automatic embroidery machines, why overheating occurs, and how to prevent it through proper ventilation, electrical checks, mechanical inspection, and regular maintenance.
ViewFrequently Asked Questions
Find answers to the most common questions about our machines, services and support.
Excessive stitch density, incorrect thread tension, unnecessary underlay, long trimming tails, and frequent thread breakage can increase thread consumption.
Yes. Higher stitch density generally requires more thread because more stitches are used to cover the same design area.
Yes. Incorrect tension can cause loose stitches, loops, and inconsistent stitch formation, leading to additional thread usage and rework.
Optimise stitch density, maintain correct thread tension, review trimming settings, use suitable thread, and test designs before bulk production.
Long thread tails may result from incorrect trimming parameters, blade wear, or problems with the trimming mechanism.
Yes. Fabric thickness, texture, stretch, and stability influence stitch formation and the amount of thread needed for a particular design.
Yes. Poor-quality thread may cause frequent breaks, inconsistent stitching, and production interruptions, increasing actual thread wastage.
Record the thread used during a sample run, including upper thread and bobbin thread where practical. Compare the quantity with the design's stitch count and production requirements to estimate consumption for larger orders.